How to Add Contacts in Quip
One of the best things about Quip is how easy it is to work on a document with someone. You can collaborate on a document with anyone, but it's easiest when that person is already in your Contacts.
When you sign up for Quip using an email account, any of your contacts who are already using Quip will be identified. You can then choose to add them to your list of Quip Contacts, which you can access from your desktop screen. You can see when your contacts are online and which device they are using.
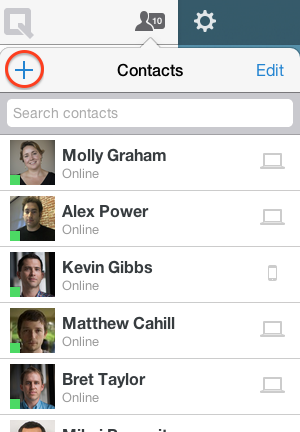
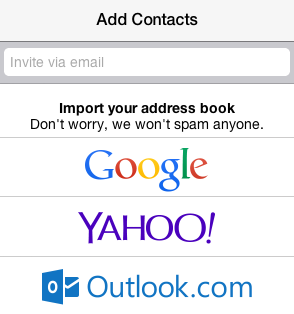
To collaborate with more of your contacts, you can enter an email address, which will send them an invitation to Quip. You can also import contacts from your address book and invite them to use Quip. To import your address book, click on the blue “plus” symbol in the top left corner of your contact list. Doing this will not spam anyone automatically—you'll get an opportunity to choose exactly whom you want to invite.
After you click on the address book you want to import, your contacts from that account who are already Quip users will be presented first. You can decide whether you want to add them to your Contacts, and if you don't, just uncheck the box next to their name and click “Next”. No emails are sent—they'll just start showing up in your Contacts.
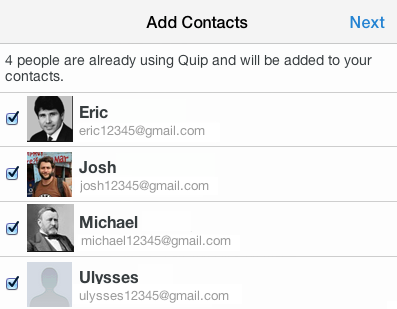
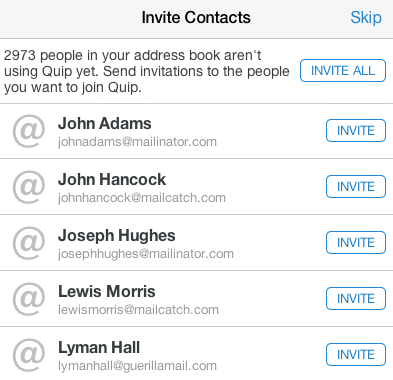
Next, you can choose to invite specific people to try Quip. If you want to invite all of your contacts, simply select “Invite All”, and each one will receive an email inviting them to Quip. If you want choose a subset of your address book, you can invite users one at a time. You can follow these steps for multiple address books—for example, if you have contacts in both Gmail and Yahoo.
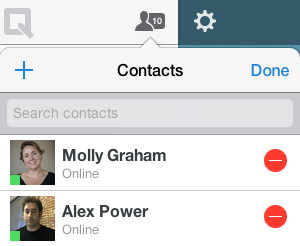
Once someone is added as a contact, it's easy to remove them. Just go to your contact list and click on the “Edit” button in the top right corner. Click the red circle that appears next to their name and the “Done”.